Follow Me On Social Media!
Pizookie Perfection: Indulgent Cookies Meet Ice Cream Bliss
Introduction to Pizookie
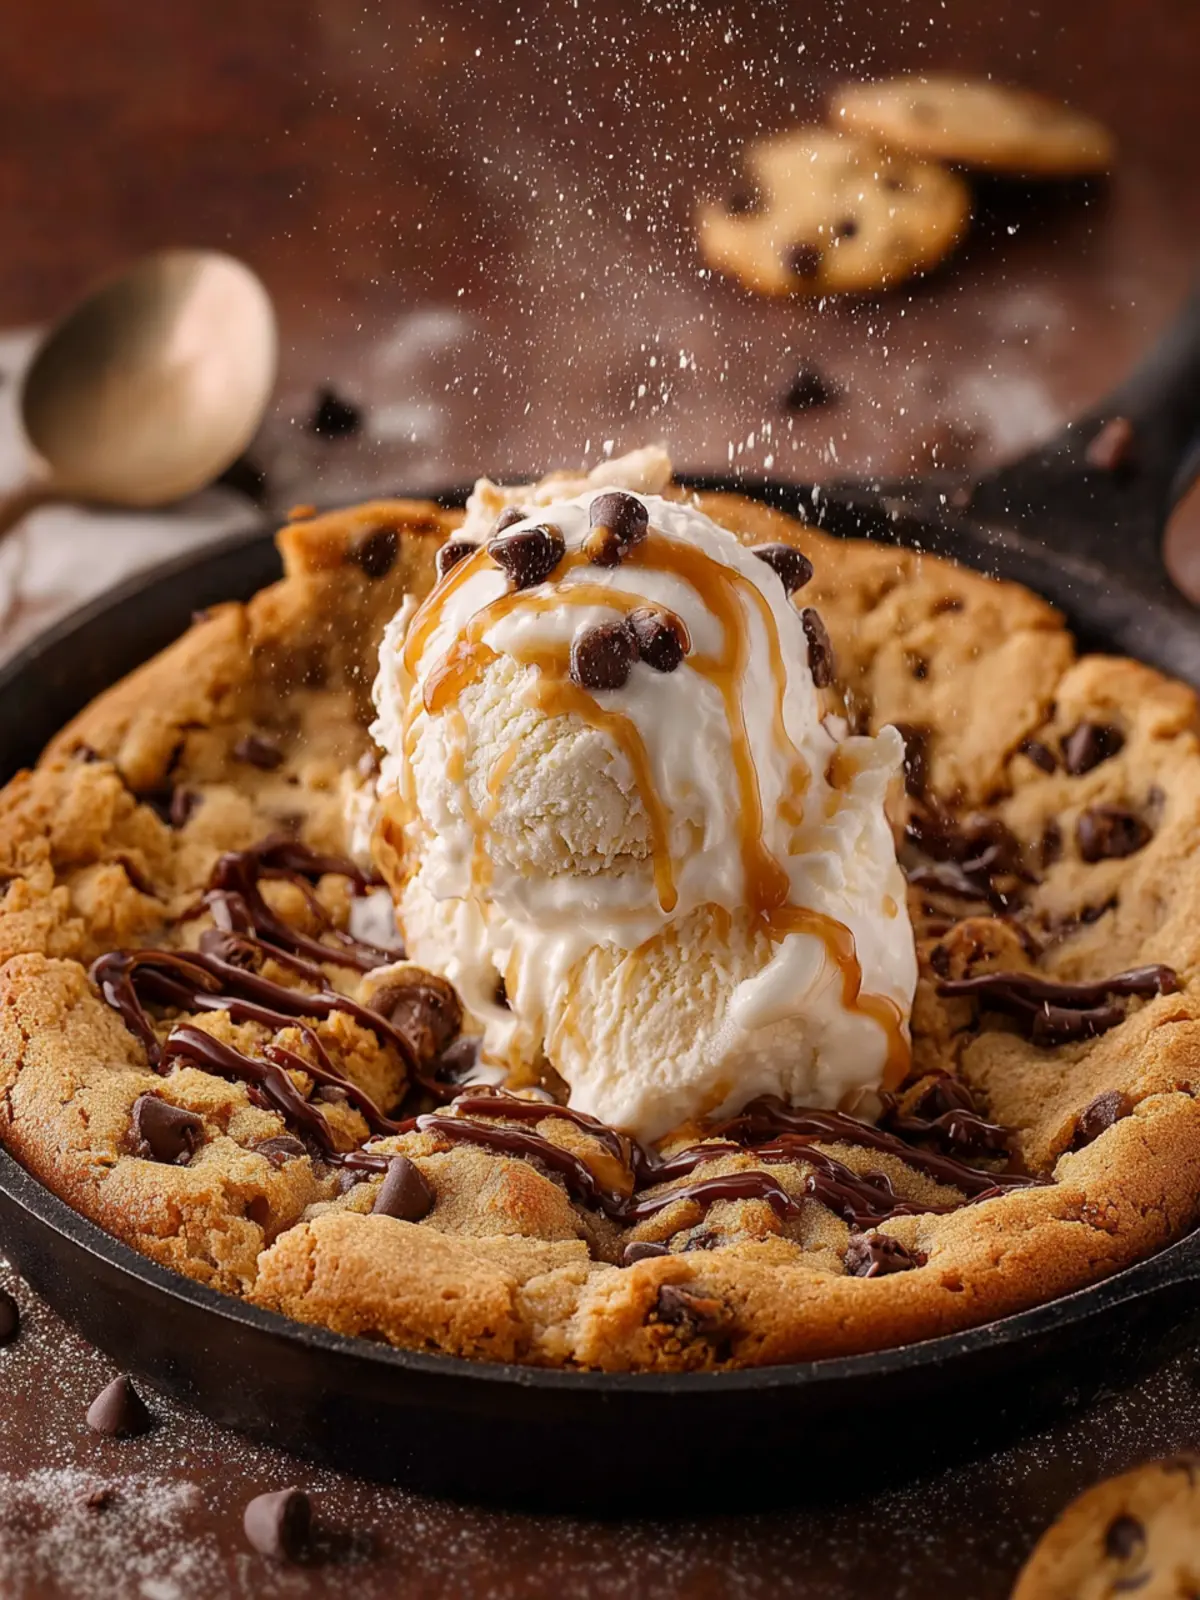
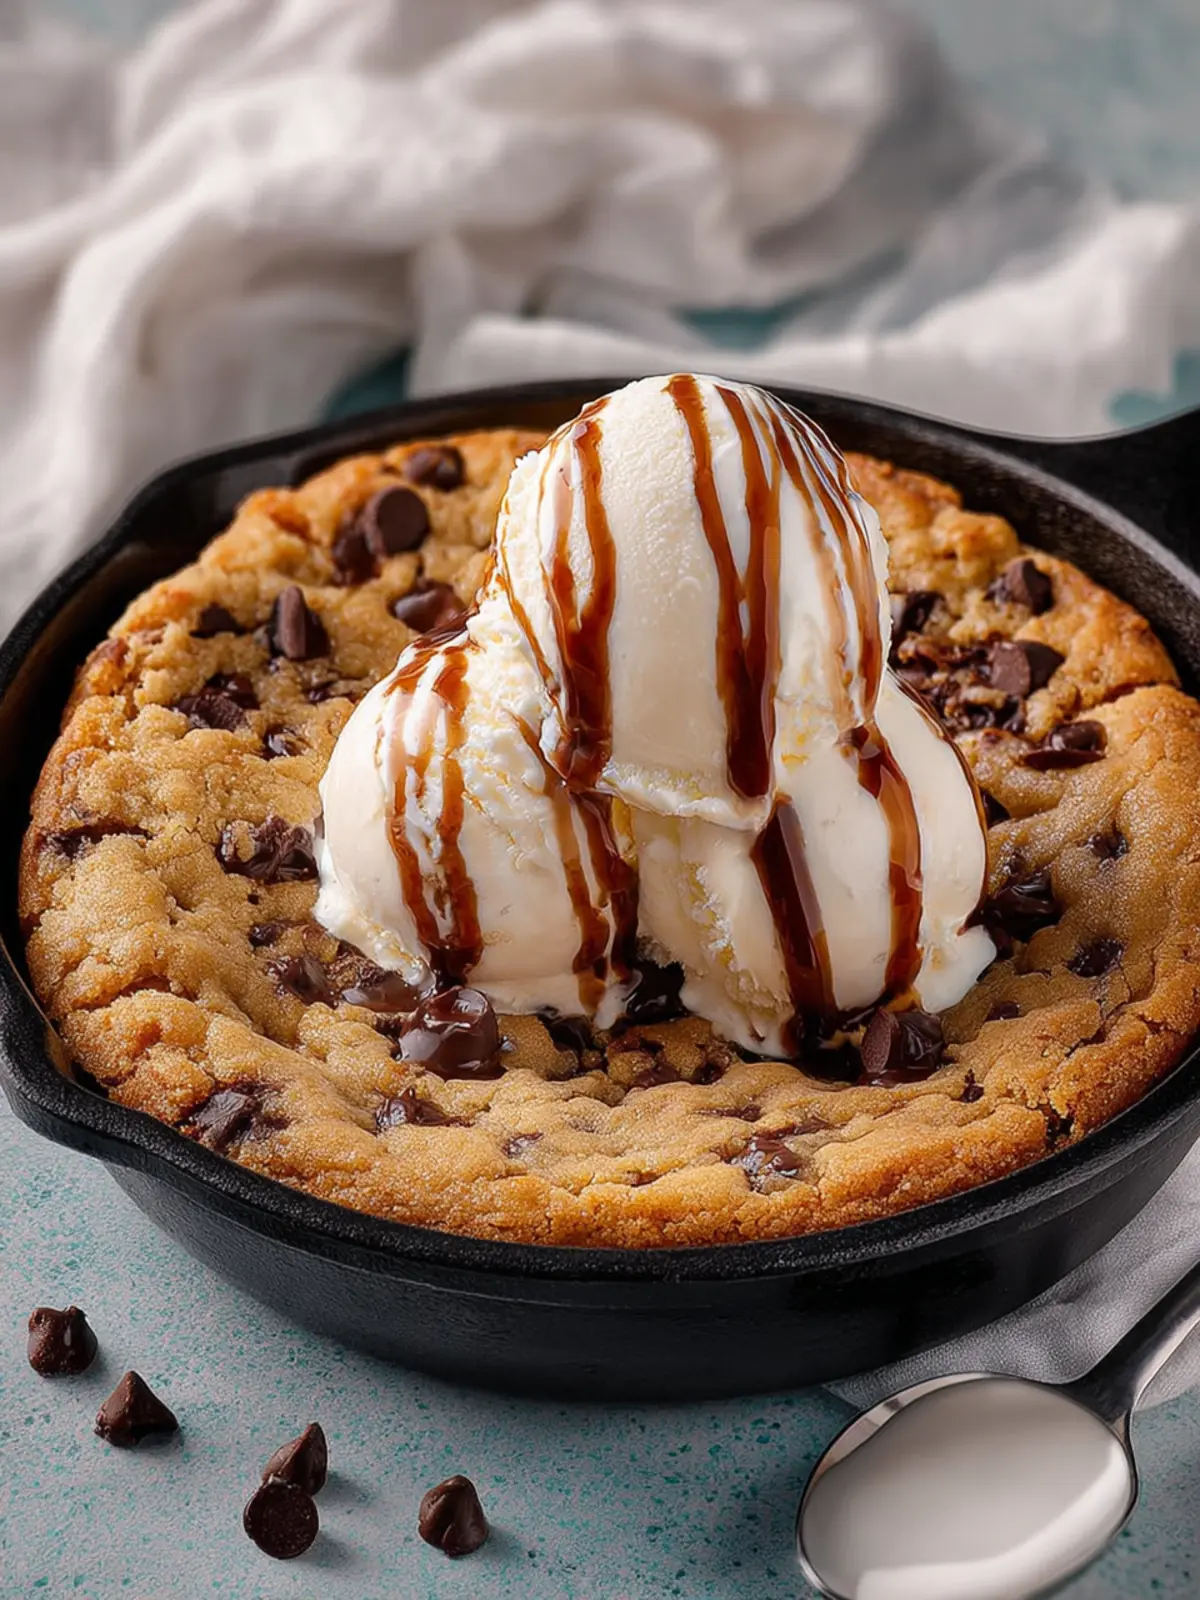
Imagine indulging in a Pizookie, where the warm, gooey embrace of cookie dough meets the delightful chill of ice cream, creating a dessert experience that feels like a warm hug on a cold day. This delicious treat has captured the hearts of many, blending simplicity and decadence into one unforgettable dish. The Pizookie trend is more than just a dessert; it’s a symbol of cozy gatherings, late-night cravings, and joyful celebrations shared among friends and family.
So, what exactly makes the Pizookie such a delightful treat? First off, its comforting blend of textures is hard to resist. Imagine a freshly baked cookie that’s slightly crisp on the edges yet irresistibly soft and gooey in the center. It’s served right from the oven, so it’s warm and inviting, the kind of dessert that beckons you to take that first bite immediately. Topped with a generous scoop of vanilla ice cream, the hot and cold contrast elevates the experience to a whole new level.
The versatility of the Pizookie is another charm. You can whip it up using your favorite cookie flavor—chocolate chip, peanut butter, or oatmeal raisin—each bite feels special and tailored just for you. What’s more, this treat isn’t just about the flavors; it’s a great opportunity to get creative with toppings. From drizzling chocolate or caramel sauce to sprinkling nuts or fresh fruits, you can customize it to your heart’s content.
Moreover, creating your very own Pizookie at home is quite simple and rewarding. The joy of mixing ingredients and watching them transform into something scrumptious can be both therapeutic and nostalgic. It can take you back to baking sessions with loved ones or spontaneous midnight kitchen antics. With this recipe, you’re not just making dessert; you’re creating memories.
In the following sections, we’ll walk through the ingredients and preparation steps to help you achieve that gooey, irresistible Pizookie that’s sure to impress and satisfy everyone around you!
Key Ingredients for Pizookie
Flour
Choosing all-purpose flour is key in crafting the perfect pizookie. Its balanced protein content offers just the right structure, giving your dessert that delightful chewy and gooey texture while allowing for a lovely rise that doesn’t skimp on richness.
Baking Soda
Adding baking soda is crucial as it helps the pizookie puff up slightly. This ingredient is what transforms your dessert into a cloud-like cookie, ensuring a beautifully golden-brown crust that’s hard to resist.
Cornstarch
Here’s my secret: a pinch of cornstarch. This ingredient keeps the center velvety and gooey while contributing to a soft, tender bite that makes every mouthful feel indulgent.
Unsalted Butter
I lean on melted unsalted butter for both richness and moisture. It blends seamlessly into the dough, elevating flavor and ensuring a moist texture that’s utterly satisfying.
Sugars
A mix of light brown sugar and granulated sugar is essential for that luscious caramel-like sweetness. The brown sugar brings depth to the flavor, creating a delightful contrast with the richness of the pizookie.
Eggs
Including one large egg and an extra yolk adds exceptional richness and moisture. This combination guarantees a soft, luxurious finish that melts in your mouth.
Vanilla Extract
Never underestimate the power of pure vanilla extract. It brings warmth and sweetness, perfectly complementing the chocolate chips in the pizookie and enhancing the overall flavor profile.
Semi-Sweet Chocolate Chips
Of course, no pizookie is complete without semi-sweet chocolate chips. They provide that much-desired meltiness, adding decadent flavor that harmonizes beautifully with the dough, creating a dessert that’s hard to resist.
Why You’ll Love This Pizookie
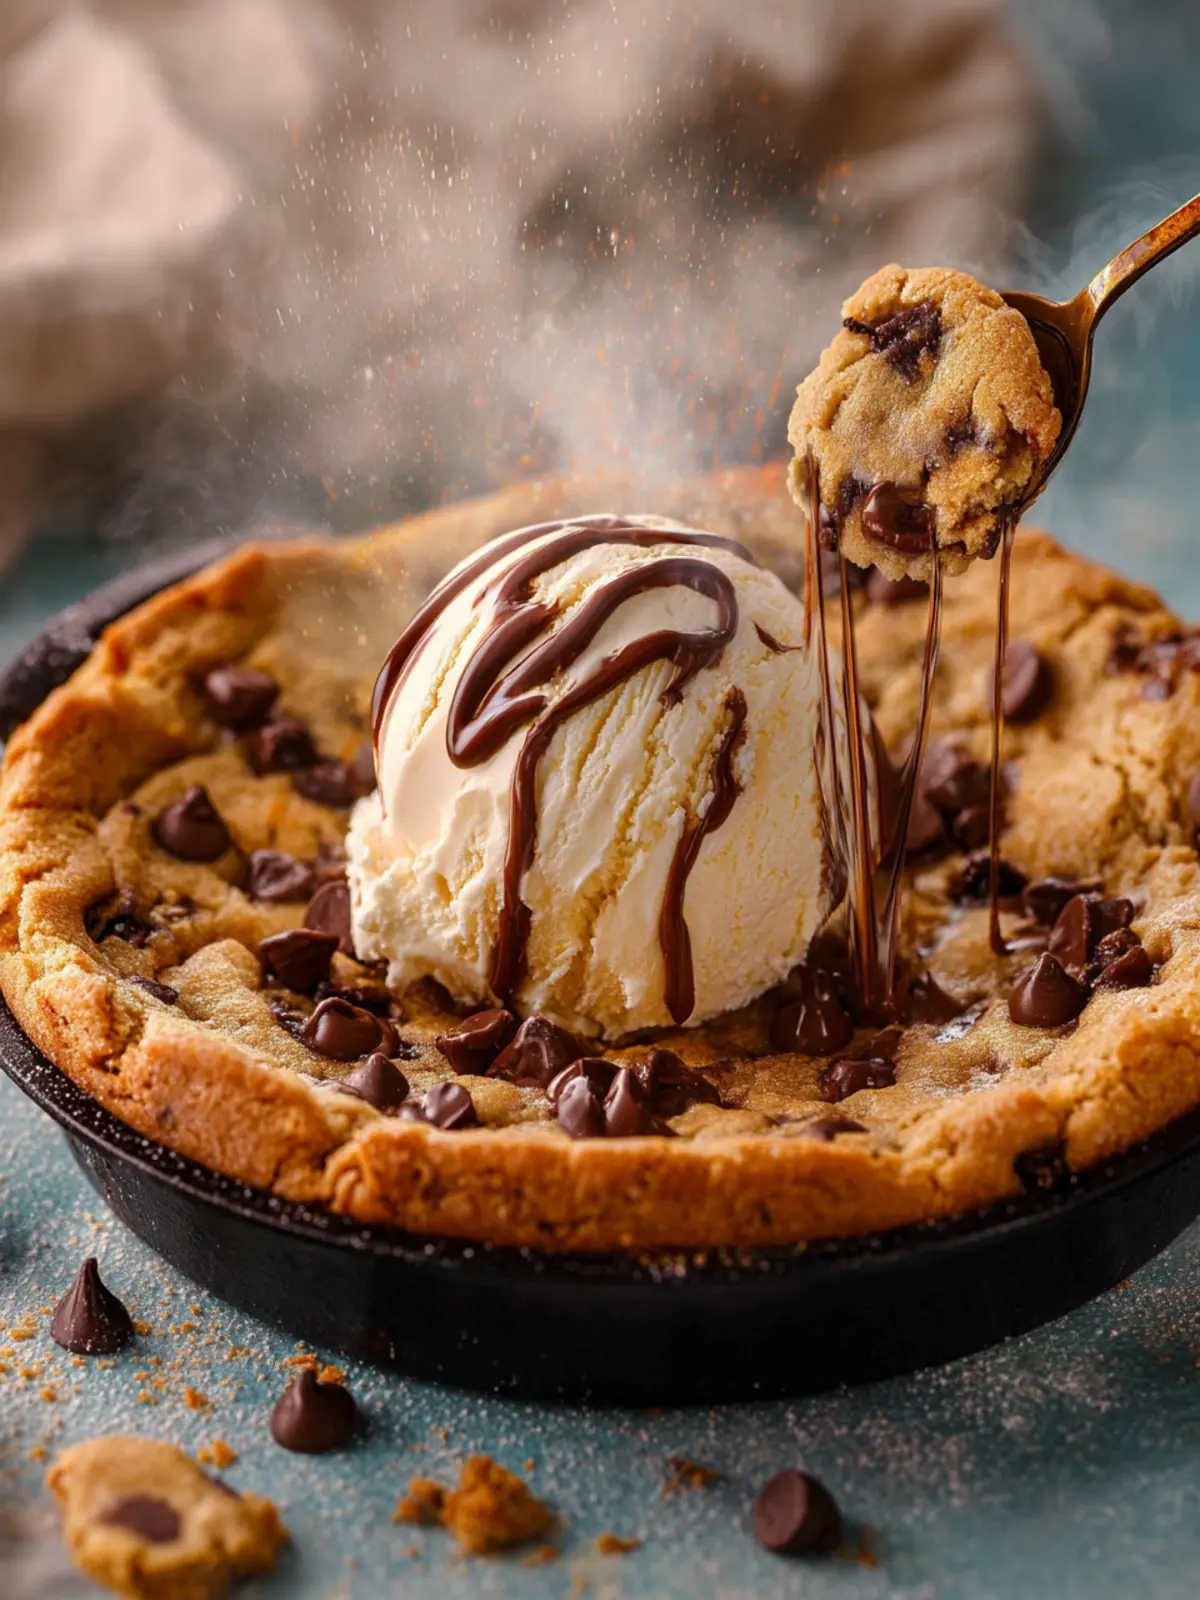
Indulging in a Pizookie is not just about satisfying your sweet tooth—it’s an experience that brings friends and family together in a cozy, delightful moment. Picture this: fresh-baked cookie dough bubbling away in a cast-iron skillet, the tantalizing aroma wafting through the room, inviting everyone to gather around.
Warm, Melty Goodness
There’s something unbeatably comforting about digging into a warm Pizookie. The outer edges bake to a golden crisp, while the center remains soft and gooey. It’s like having two desserts in one—what’s not to love? Top it off with a scoop of creamy vanilla ice cream, and you’ll experience an irresistible flavor combination that elevates this classic treat.
Customizable for Everyone
What’s fantastic about a Pizookie is the versatility it offers. Whether you prefer classic chocolate chip, rich brownie batter, or even a snickerdoodle twist, the possibilities are endless. You can create one that perfectly matches your taste—add nuts, sprinkles, or even a drizzle of caramel for that extra flair.
Perfect for Sharing
Ideal for cozy nights in or festive gatherings, a Pizookie invites sharing and conversation. Gather around, take a scoop, and delight in the joy of treating—and being treated— with something sweet. If you’re looking to create lasting memories, this dessert is a must-try!
Variations of Pizookie
When it comes to the Pizookie, the world of flavors invites you to experiment and express your creativity beyond its traditional chocolate chip roots. Imagine serving this beloved dessert in an array of seasonal styles!
Seasonal Flavors
Depending on the time of year, you can introduce vibrant and festive flavors that capture the essence of the season. In spring, consider a lemon blueberry Pizookie, combining citrus zest with fresh blueberries for a refreshing twist. As autumn approaches, pumpkin spice takes center stage, blending warm spices with a rich pumpkin batter. Even in winter, a peppermint mocha Pizookie topped with crushed candy canes will surely dazzle your guests.
Different Toppings
Toppings are where the Pizookie really shines! While a scoop of vanilla ice cream is a classic choice, why not experiment with?
- Caramel drizzle: Adds a sweet and buttery touch.
- Fresh fruit: Sliced strawberries or bananas pair beautifully with the warm cookie base.
- Whipped cream: This airy addition lightens up the indulgent dessert.
- Nuts: Chopped pecans or walnuts provide a delightful crunch.
These toppings not only enhance the flavor but make for a stunning presentation.
Healthier Alternatives
For those mindful of their dietary choices, you can easily modify your Pizookie to be a tad healthier. Consider swapping:
- Whole wheat flour for all-purpose flour to increase fiber.
- Coconut oil or almond butter instead of butter, offering healthy fats.
- Natural sweeteners like honey or maple syrup instead of refined sugar to retain that sweet indulgence with a healthful twist.
These substitutions ensure that your Pizookie can be both delicious and a little kinder to your waistline!
Embrace your creativity and let your Pizookie journey flourish with these exciting variations!
Cooking Tips and Notes for Pizookie
Creating the ultimate Pizookie experience at home is an adventure in itself. This delicious, gooey dessert is only a few simple techniques away from perfection.
Achieving the perfect texture
To get that soft, chewy center that makes a Pizookie so indulgent, be meticulous with your ingredient measurements. Using room-temperature butter allows it to cream smoothly with sugar, creating air pockets that lead to a light, fluffy texture. Also, don’t forget to sprinkle a pinch of sea salt on top before serving; it breaks the sweetness beautifully.
The right baking time
The secret to a well-baked Pizookie lies in your oven. Start by setting a timer for 15 minutes, but keep an eye on it after the 12-minute mark. Look for a lightly golden edge while the center retains a soft, almost underbaked feel. Once out of the oven, it will continue to cook slightly, perfecting that gooey goodness.
Avoiding overmixing
As tempting as it is to blend everything until perfectly smooth, remember that less is more. Mix just until the dry ingredients are incorporated to maintain that delightful, tender bite. Overmixing introduces too much air, causing the Pizookie to lose its chewy allure.
These tips will ensure your Pizookie is a mouthwatering success every time!
Serving Suggestions for Pizookie
The delightful Pizookie is more than just a dessert; it’s a warm, gooey masterpiece that invites creativity in every serving. Whether you’re hosting friends or treating yourself after a long day, how you serve this dessert can take its enjoyment to new heights.
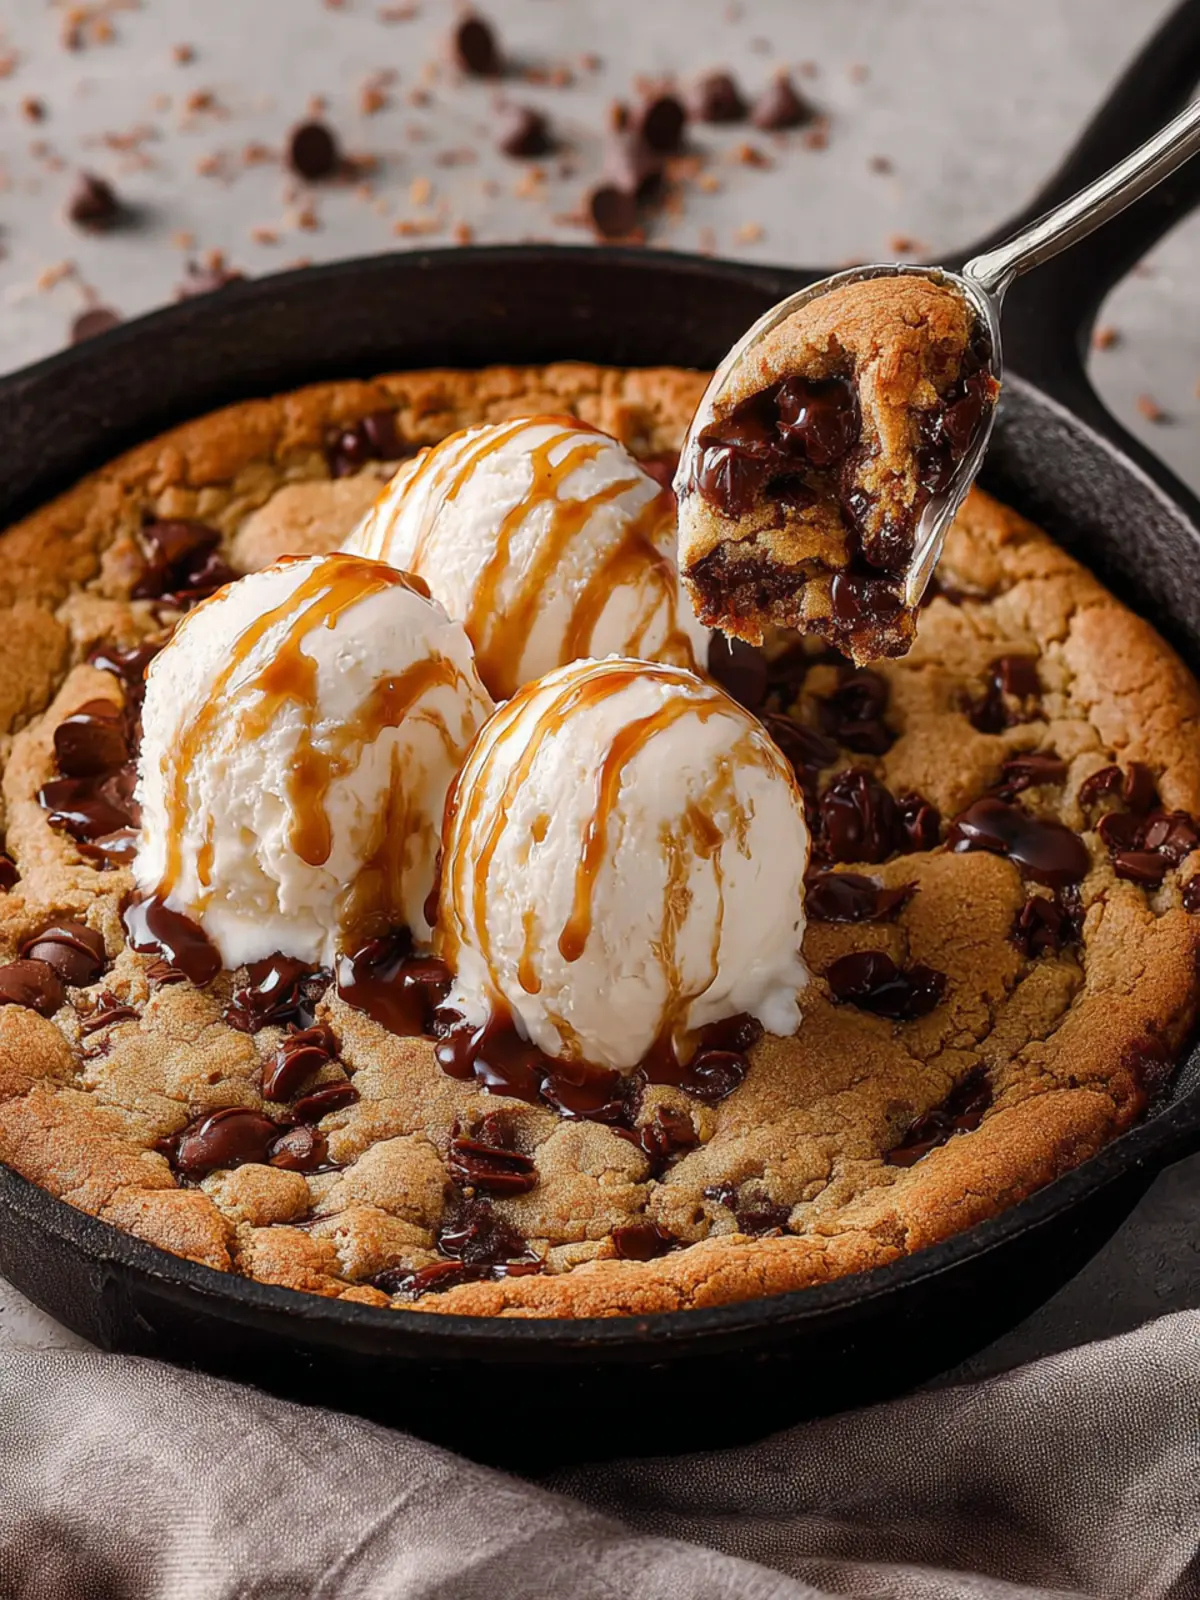
Best Ways to Serve Warm
To truly experience the bliss of a Pizookie, serve it straight from the oven while it’s still warm and gooey. Consider using individual cast-iron skillets for a rustic feel. Top each one with a generous scoop of ice cream that will melt into the warm cookie, creating a delightful cascade of sweet creaminess.
Ice Cream Pairings
The right ice cream can elevate your Pizookie to new levels. Here are some fantastic combinations:
- Vanilla Bean: A classic choice that enhances the rich flavors of the cookie.
- Chocolate Chip Cookie Dough: For a double-dose of cookie goodness.
- Mint Chocolate Chip: This refreshing pairing offers a contrasting flavor that’s surprisingly harmonious.
Creative Presentation Ideas
Serving a Pizookie is an art in itself! Try these fun presentation ideas to wow your guests:
- Drizzle with Caramel or Chocolate Sauce: A decadent drizzle adds a touch of elegance.
- Garnish with Fresh Berries: Sprinkling raspberries or strawberries offers a burst of color and freshness.
- Personalize with Toppings: Provide a toppings bar with nuts, sprinkles, or whipped cream for guests to customize their own.
Remember, the joy of a Pizookie lies not just in its taste, but in the experience of sharing it with others!
Time Breakdown for Pizookie
Crafting a delicious Pizookie is as rewarding as it is scrumptious, and understanding the time involved can enhance your baking experience. Let’s break it down for you!
Preparation time
The prep work for your warm, gooey Pizookie takes about 15 minutes. You’ll spend this time gathering ingredients and mixing them together to create the perfect dough.
Baking time
Once your dough is ready, it’s time to pop it into the oven. Bake the Pizookie for about 20 minutes or until it’s beautifully golden and slightly underbaked for that signature gooey center.
Total time
In total, expect to spend about 35 minutes from start to finish. Just think, in under an hour, you can whip up a delightful dessert that’s perfect for sharing (or not—no judgments here)!
Nutritional Facts for Pizookie
When you indulge in the warm, gooey delight that is Pizookie, it’s helpful to be aware of its nutritional content. This dessert might be a delicious treat to share after a dinner with friends or as a cozy night-in snack, but let’s break down its key nutritional aspects.
Calories
A serving of Pizookie typically contains around 500 calories. While it’s a decadent dessert, this delicious calorie count makes it a delightful splurge.
Sugar Content
In a single serving, Pizookie can pack about 40 grams of sugar. It’s sweet enough to satisfy your cravings, but it’s always smart to enjoy it in moderation.
Gluten
Traditional Pizookie recipes use all-purpose flour, which contains gluten. If you’re looking for a gluten-free version, consider using a gluten-free flour blend to enjoy this delightful dessert without the gluten guilt.
By keeping these nutritional facts in mind, you can enjoy your Pizookie while making informed choices!
FAQs about Pizookie
When it comes to baking a delicious Pizookie to satisfy your sweet cravings, questions are bound to arise. Here are some common queries to help you navigate this delightful dessert experience.
Can I make a pizookie in advance?
Absolutely! You can prepare the Pizookie dough ahead of time. Once mixed, store it in an airtight container in the refrigerator for up to two days. When you’re ready to indulge, simply scoop out the desired amount and bake it. This way, you can enjoy the freshly baked goodness without the last-minute rush.
What’s the best way to store leftover pizookie?
Leftover Pizookie can be stored in an airtight container at room temperature for a day or in the refrigerator for up to three days. To reheat, pop it in the microwave for about 20-30 seconds or in a preheated oven at 350°F for about 10 minutes. This quick reheating will bring back that gooey, warm texture.
Can I use different types of chocolate chips?
Of course! The beauty of a Pizookie lies in its versatility. Feel free to mix and match chocolate chips to suit your taste. Dark chocolate, white chocolate, or even peanut butter chips can add an exciting twist. You might also consider using a combination of chips for a flavor explosion that keeps your dessert interesting and unique.
Remember, there’s no right or wrong when it comes to indulging in Pizookie—just let your creativity run wild!
Conclusion on Pizookie
A Pizookie represents the ultimate fusion of cookie and pizza, creating a dessert that’s both comforting and indulgent. As you take that first warm bite, you’ll appreciate how every ingredient contributes to its deliciousness. The gooey chocolate chunks melt beautifully into the soft cookie base, while a scoop of vanilla ice cream adds that perfect creamy contrast. When hosting friends or enjoying a cozy night in, this dessert is sure to impress. So, gather your ingredients, embrace the process, and let each bite of your homemade Pizookie make sweet memories that last long after the dessert is gone.
Print
Chocolate Chip Cookie Skillet
- Total Time: 40 minutes
- Yield: 8 servings 1x
- Diet: Vegetarian
Description
A delicious chocolate chip cookie baked in a cast iron skillet.
Ingredients
Scale
- 2 ¼ cups all-purpose flour (spooned & leveled)
- 1 teaspoon baking soda
- 2 teaspoons cornstarch
- ½ teaspoon salt
- ¾ cup unsalted butter (melted and slightly cooled)
- ¾ cup packed light brown sugar
- ½ cup granulated sugar
- 1 large egg (at room temperature)
- 1 egg yolk (at room temperature)
- 2 teaspoons pure vanilla extract
- 1 ½ cup semi sweet chocolate chips
Instructions
- Position a rack in the center of the oven. Preheat oven to 350°F (180°C). Grease a 10-inch cast iron skillet lightly with butter.
- In a large bowl, whisk the flour, baking soda, cornstarch, and salt together. Set aside.
- In a medium bowl, whisk the melted butter, brown sugar, and granulated sugar together until evenly combined.
- Whisk in the egg and egg yolk until evenly mixed in. Whisk in the vanilla extract until evenly incorporated.
- With a spatula or wooden spoon, stir in the dry ingredients and chocolate chips.
- Press cookie dough into an even layer into a 10-inch cast iron skillet.
- Bake for 23-25 minutes until edges are golden brown and top is golden brown.
- Remove from the oven and serve immediately (with a scoop of ice cream is best!). I like mine a little underdone so I bake on the smaller amount of time. Bake until desired doneness. The middle will continue to set as it cools.
Notes
- If you prefer a gooey cookie, bake on the shorter time.
- The middle of the cookie will set as it cools.
- Prep Time: 15 minutes
- Cook Time: 25 minutes
- Category: Dessert
- Method: Baking
- Cuisine: American
Nutrition
- Serving Size: 1 slice
- Calories: 300
- Sugar: 20g
- Sodium: 150mg
- Fat: 15g
- Saturated Fat: 9g
- Unsaturated Fat: 5g
- Trans Fat: 0g
- Carbohydrates: 40g
- Fiber: 1g
- Protein: 3g
- Cholesterol: 50mg